If you’re wanting to send email from your application, then Sendgrid is a fantastic provider that makes it easy (and potentially free) to get up and going.
Sendgrid have great documentation at https://docs.sendgrid.com/for-developers/sending-email/api-getting-started and if you’re a .NET developer, a helpful c# client at https://github.com/sendgrid/sendgrid-csharp
Set up your SendGrid account
To get an account set up, head over to https://signup.sendgrid.com/ to create your account.
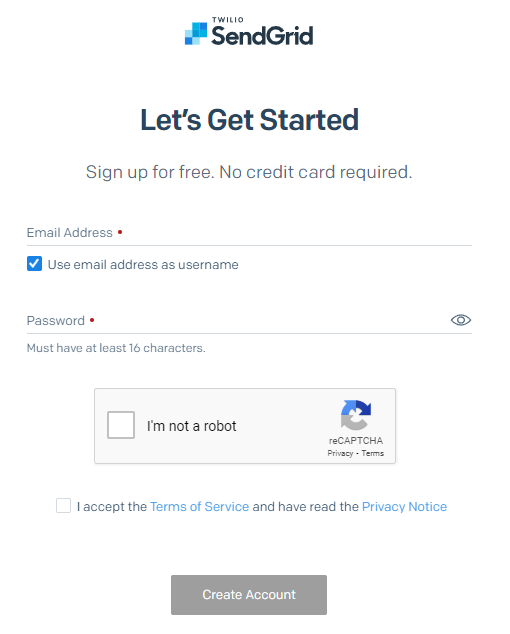
Enter your email address and a SECURE password, and accept the terms of service and the privacy policy. You’ll then be sent to a “Tell us about yourself” page to enter some additional information.
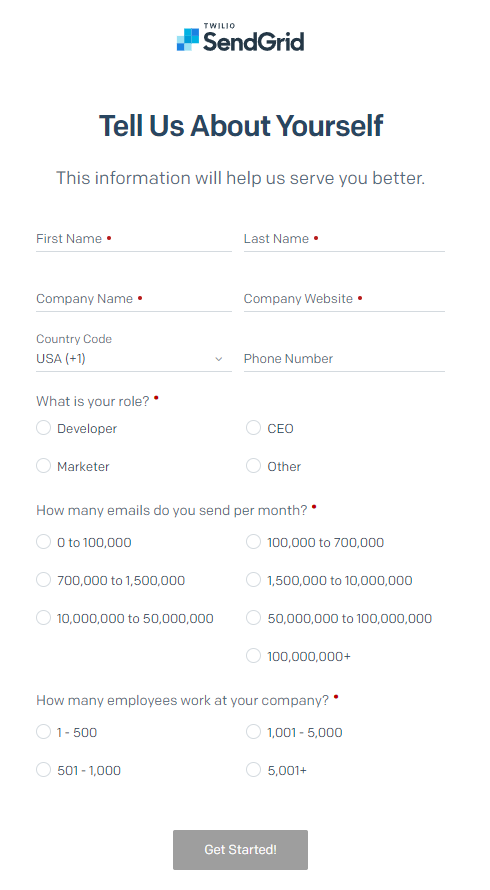
Once you answer these details and click Get Started, you’ll be taken to a 2FA notification page.
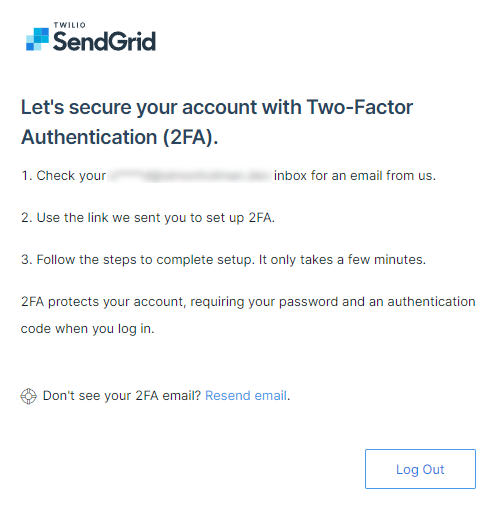
You’ll then be sent an email to configure MFA on your account. This isn’t optional on newly created Sendgrid accounts.
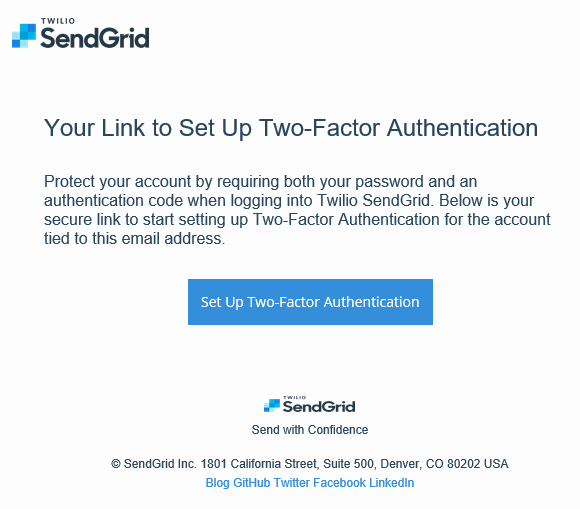
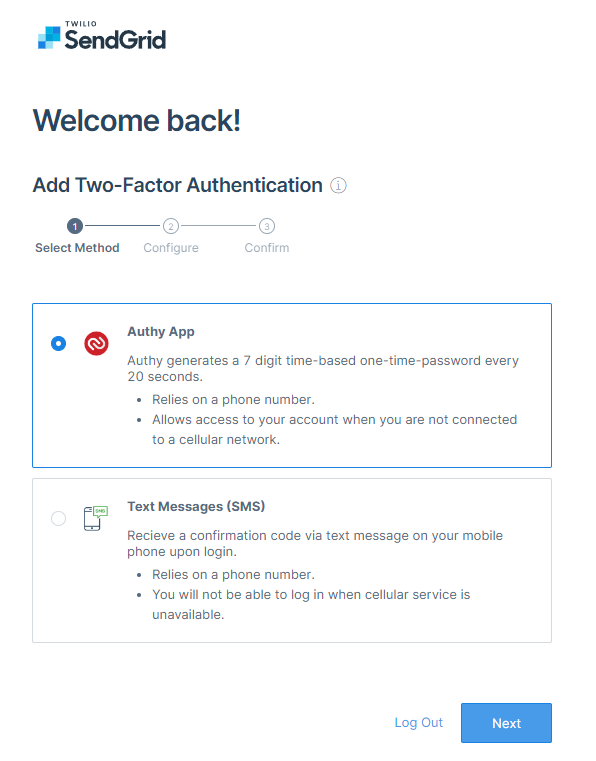
When you click on the “Set Up Two-Factor Authentication”, you’ll be prompted by a choice of using an Authentication App, like Authy, which I use and recommend, or using SMS.
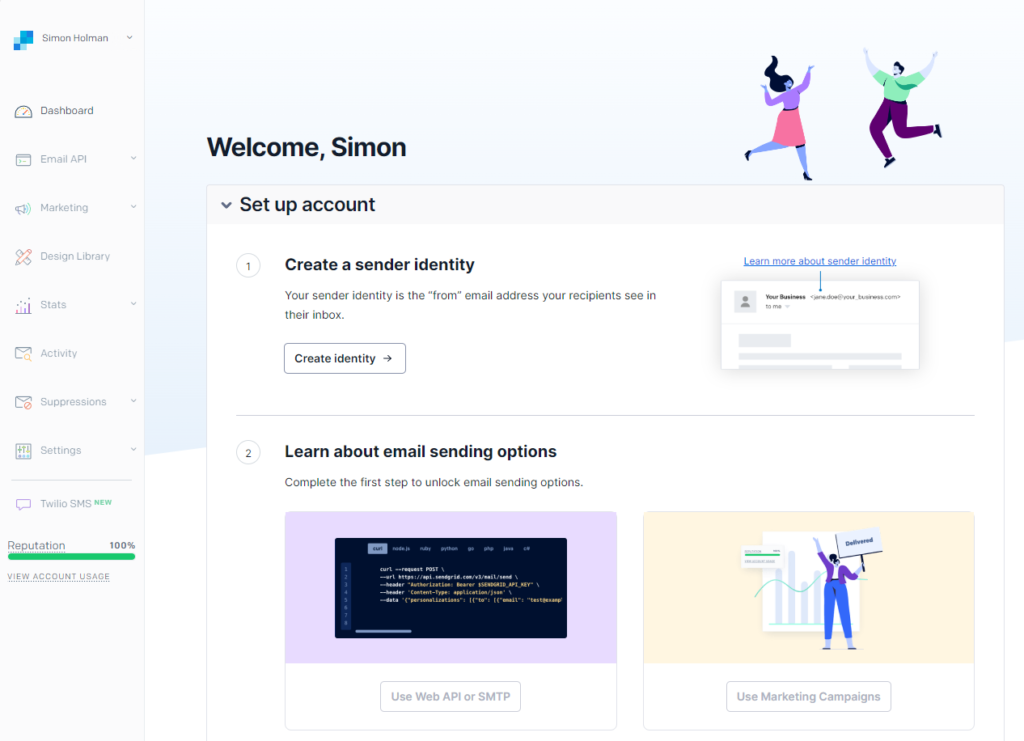
Once all this is done, you can then log in to your new SendGrid account.
Authenticate your sending domain
The next step is crucially important as Sendgrid will only allow emails to be sent that come from an authenticated email address or domain.
I typically find that authenticating the domain itself is the more useful option over using a Sender identity as it covers any email address that you may want to send from on that domain.
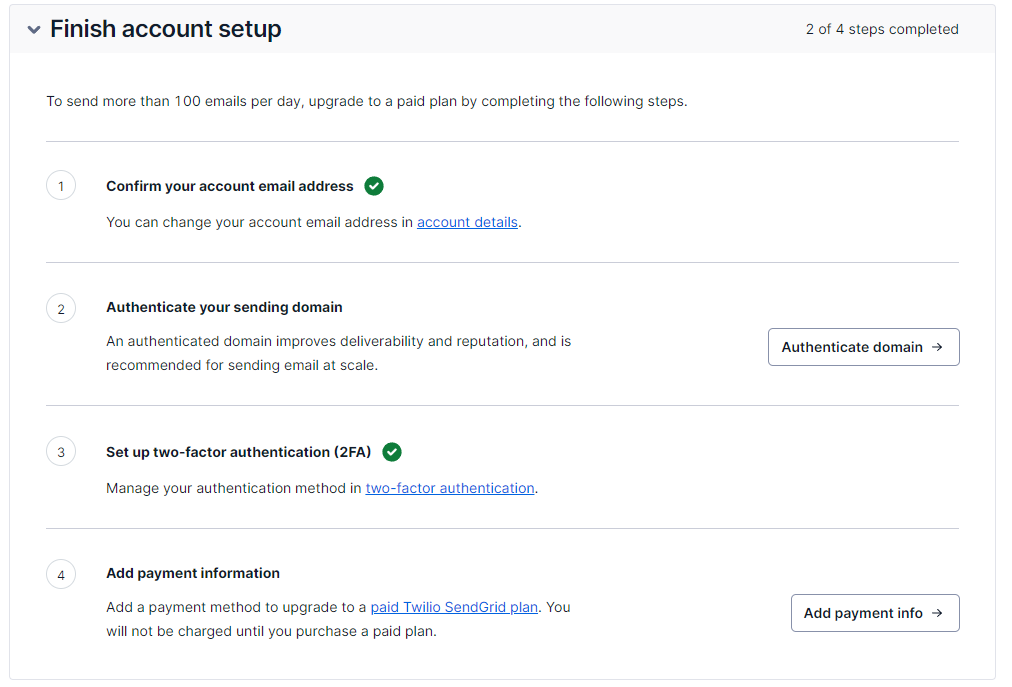
When you’re on the welcome screen, scroll down to see the “Finish account setup” section, and click on “Authenticate domain”
The next screen you’ll see is the beginning of the wizard used to authenticate your domain.
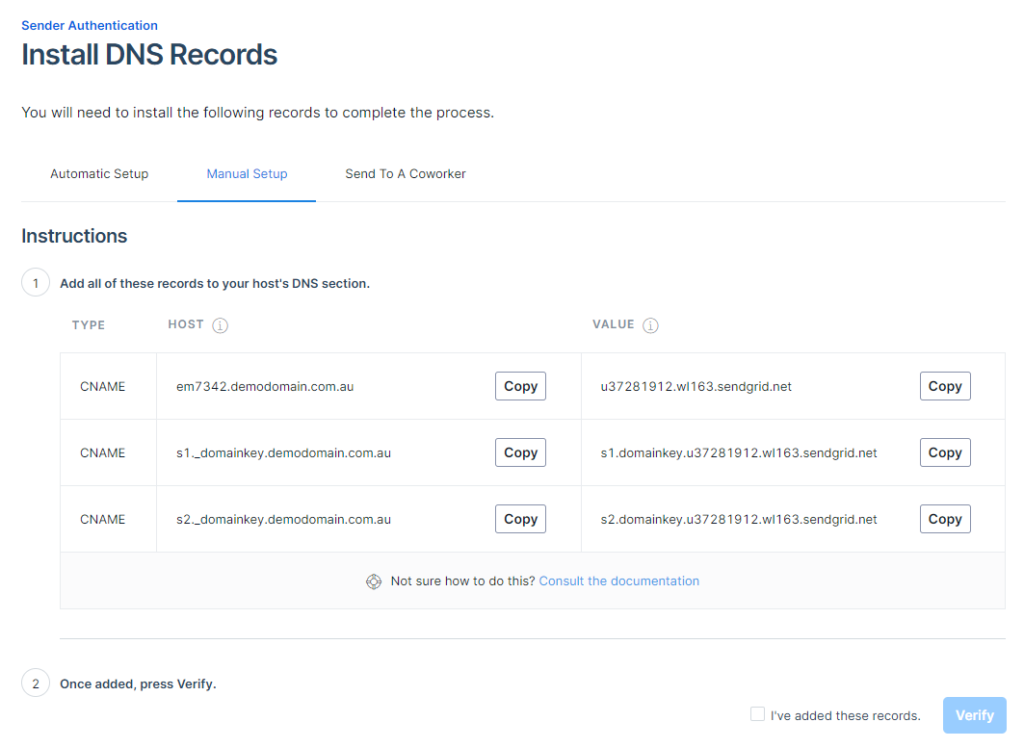
Authenticating your domain involves adding 3 CNAME DNS records to your domain’s DNS record set. The first is purely a validation record to confirm to SendGrid that you actually have authority to manage the DNS for your domain. This stops you from trying to validate a domain that you don’t own or manage.
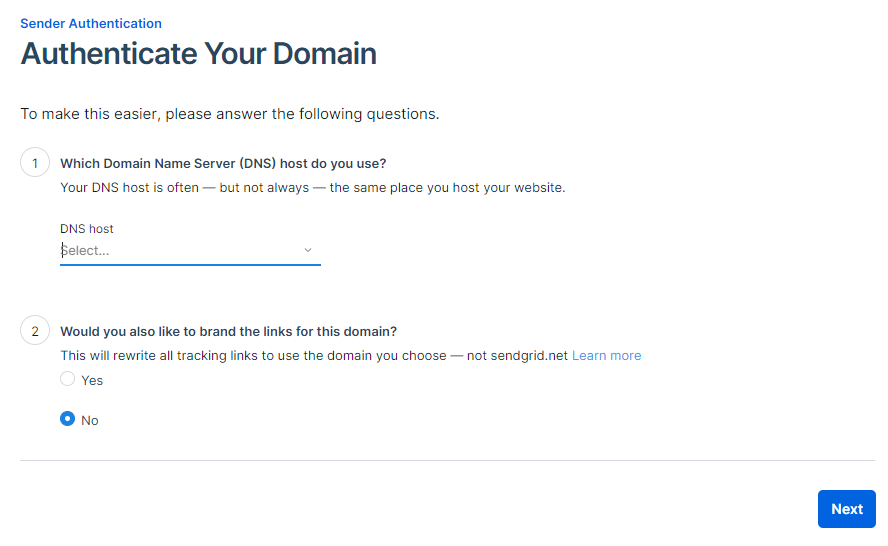
The first two options in the Authenticate your Domain page are “Which Domain Name Server (DNS) host do you use?” and “Would you also like to brand the links for this domain?”
If your DNS host is listed in this list, Sendgrid will be able to automatically set the DNS records up for you by you logging in to your DNS provider from SendGrid.
We’ll be using Azure Public DNS, which is not on the list of DNS Hosts, so you can leave that blank.
The second question is about rewriting any tracking links that SendGrid creates when sending emails. By default, SendGrid will replace any links in your email with sendgrid.net links so it can track the click through’s to each link in your emails. I don’t recommend using this feature, and disabling the link tracking altogether which I’ll show you how to do later in the article. So for now, you can leave this second question set to No, and click Next.
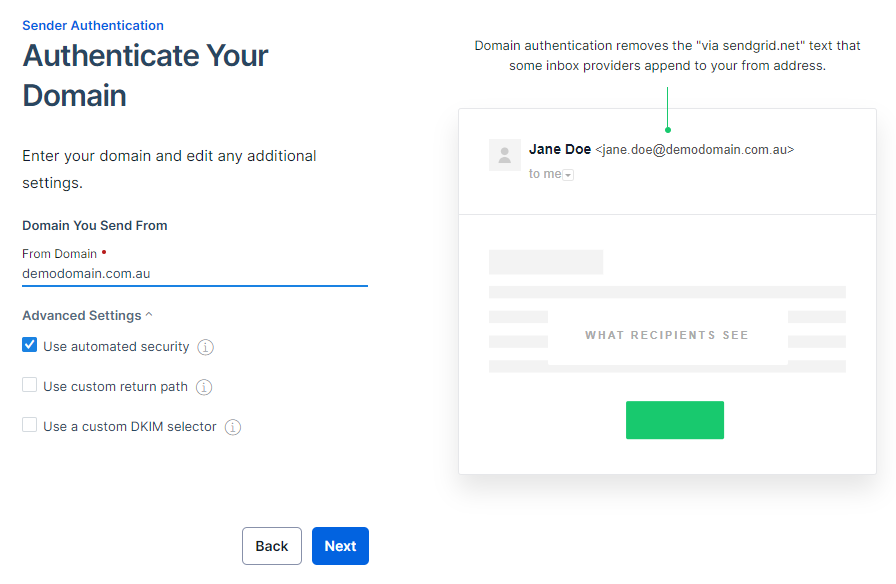
The following page asks you to enter the domain you wish to authenticate. In this example, we’re using demodomain.com.au.
For the advanced settings, you have 3 settings.
- Use automated security. I recommend leaving this checked so SendGrid manage all the DKIM key rotation and everything for you. This isn’t really something you need to have to be worrying about.
- Use custom return path. Again, this is best left at the default setting of unchecked.
- Use a custom DKIM selector. If you don’t use a custom selector, SendGrid will configure the default DKIM “s1._domainkey” and “s2._domainkey” prefixes for the DNS records. This is fine if you only expect to ever have one SendGrid service in use sending email from your domain. If there’s a possibility that you will use another third party service for your domain that might use SendGrid, it’s useful to enter a custom selector
Once you’ve entered your domain name and made your selections , click Next
The Install DNS Records page shows you the three DNS records that you need to add to your domain to complete the validation of your domain. For this domain, we will be using Azure Public DNS.
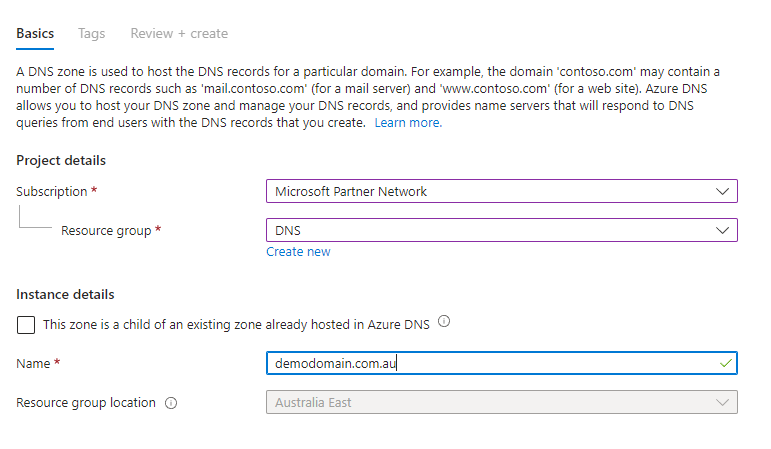
Create Azure DNS zone
To add a domain to Azure Public DNS, log into your Azure portal, and click “Create a resource” from the Home page or the menu.
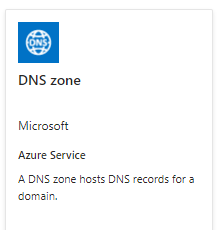
In the Marketplace search, type “dns zone” and select the resource titles “DNS zone”
You can then select your subscription and resource group, and enter your domain name, then click Review Create, and Create
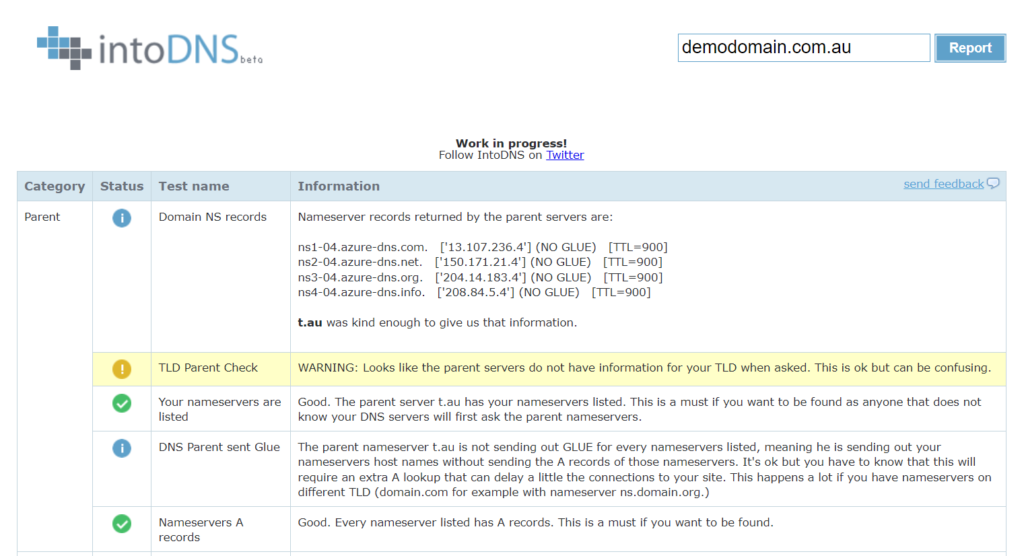
Once your DNS zone is created, you will see a default set of records that include the NS and SOA records. You typically won’t need to know much about these records, or ever edit them. The nameservers that Azure have allocated to your DNS zone record will be shown in the Essentials section of the page. These should be the nameservers that you add to your domain registration record with your domain registrar.

To check what nameservers are currently configured for your domain, you can use the handy service IntoDNS
Back in the DNS zone for your domain, you need to add the three CNAME records to enable the SendGrid verification.
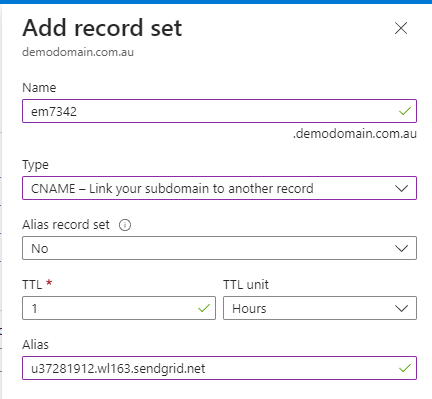
Add SendGrid Validation records in Azure DNS zone
- Click the “+ Record set” icon at the top of the page to open the record set blade.
- In the Name field, you want to add the section of the first SendGrid verification record excluding your domain name. In our example, the record is “em7342.demodomain.com.au”, so we will enter “em7342”
- Change the Type from an “A” record, to a “CNAME” record
- Enter the corresponding value from the SendGrid DNS record into the Alias field for the new DNS record
- Click Ok to save the record.
Follow the same process as above to add the additional two DNS records.
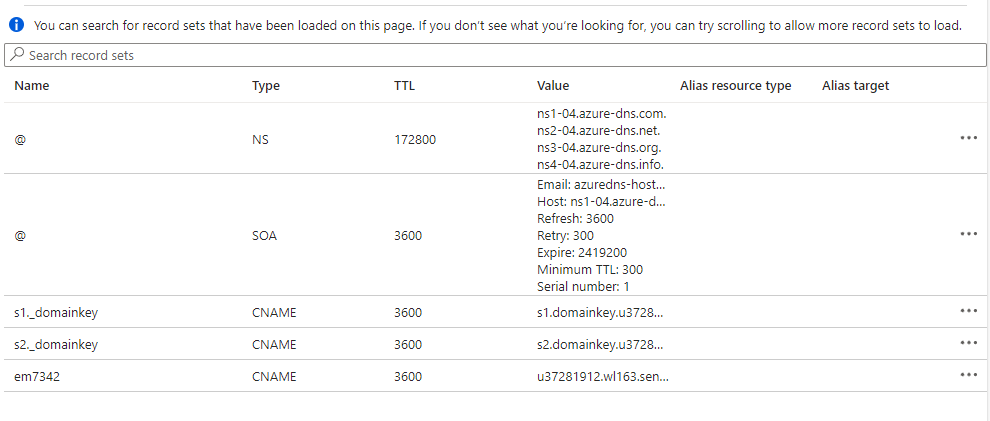
Once you’ve added all three CNAME records, your DNS zone should look like below.
Once these records are added, you can switch back to SendGrid to complete the validation of your domain.
Once back in the SendGrid “Install DNS Records” page, you can check the “I’ve added these records” checkbox, then click the Verify button.
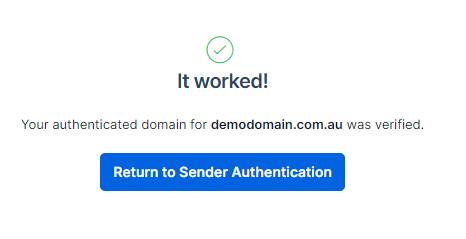
You should then see a confirmation page that the domain was verified.
You now have your domain verified, so you can begin sending email our through your SendGrid account using the API, Marketing tools, or directly via SMTP.
Extra Tip: Disable Open and Click Tracking
As I mentioned above, I recommend you disable open and link tracking on your SendGrid account. If you’re using a marketing tool other than SendGrid, then it will track these things for you.
My personal issue with SendGrid link tracking is that it obscures the end domain that the link goes to in the email. For most generic emails, this isn’t a big deal, but I have seen this happen on emails from banks and other businesses prone to Phishing attacks. Not being able to confirm that a link on an email from your bank actually goes tothe bank’s known URL is a fairly significant security issue in my opinion.
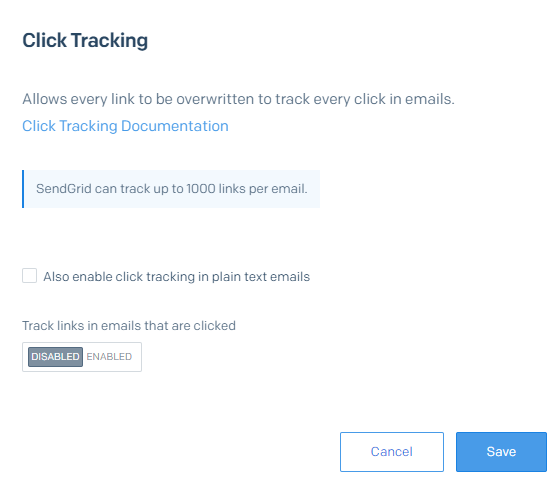
Disable link tracking in SendGrid
- To disable link tracking, Open the Tracking settings under the Settings menu on the left.
- Click on the pencil icon to the right of the Click Tracking option.
- Uncheck the “Also enable click tracking in plain text emails” and change the Track links option to Disabled.
- Save the settings.
- Repeat the same for Open Tracking if required.