In this post, we’ll take a look at adding a domain to Microsoft365 and configuring your DNS records with Cloudflare DNS.
One of the benefits of using Cloudflare for your DNS is that you can hide where your website is being hosted, and it’s free for their basic services.
Table of Contents
Create a Microsoft365 tenancy
The first step to getting a domain set up in Microsoft365 is to set up a tenancy.
A tenancy is a placeholder to contain your domains, user accounts, mailboxes, etc.
If you’re in Australia and want us to help you get all this setup, then you can contact us at Expeed
For anyone else, you can go through Microsoft’s public site to purchase licenses. The Business grade licenses are over at https://www.microsoft.com/en-au/microsoft-365/business/compare-all-microsoft-365-business-products
Add domain to Microsoft365 tenancy
When you get your tenancy set up, you can add your own domain by following these steps
Log in to the Microsoft365 portal at https://portal.office.com.
Click on the Admin icon on the left menu, which will take you to the Microsoft 365 Admin center
Click on “…Show all” in the left menu to expand out all menu options
Expand the Settings menu, then click Domains to load the domain page. You will see that there is already an *.onmicrosoft.com domain present. This is the default domain configured for your tenancy.
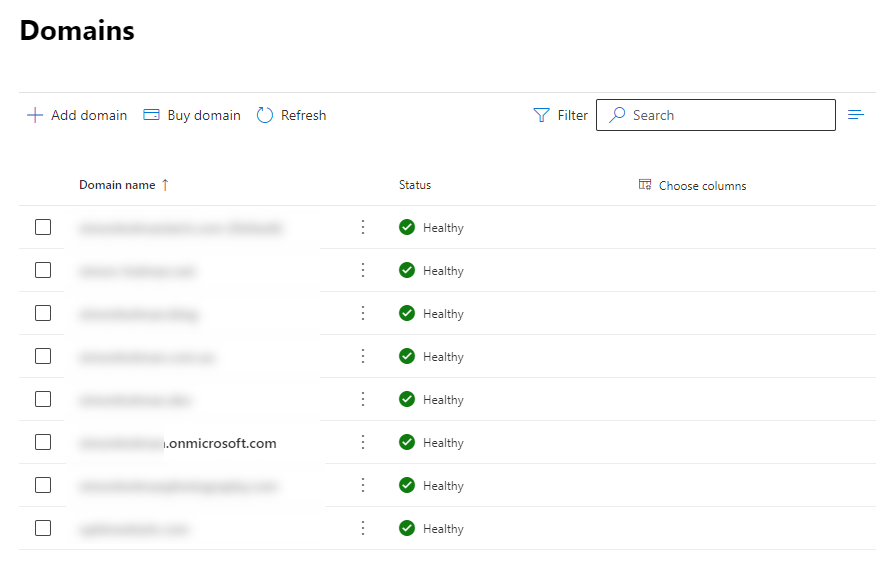
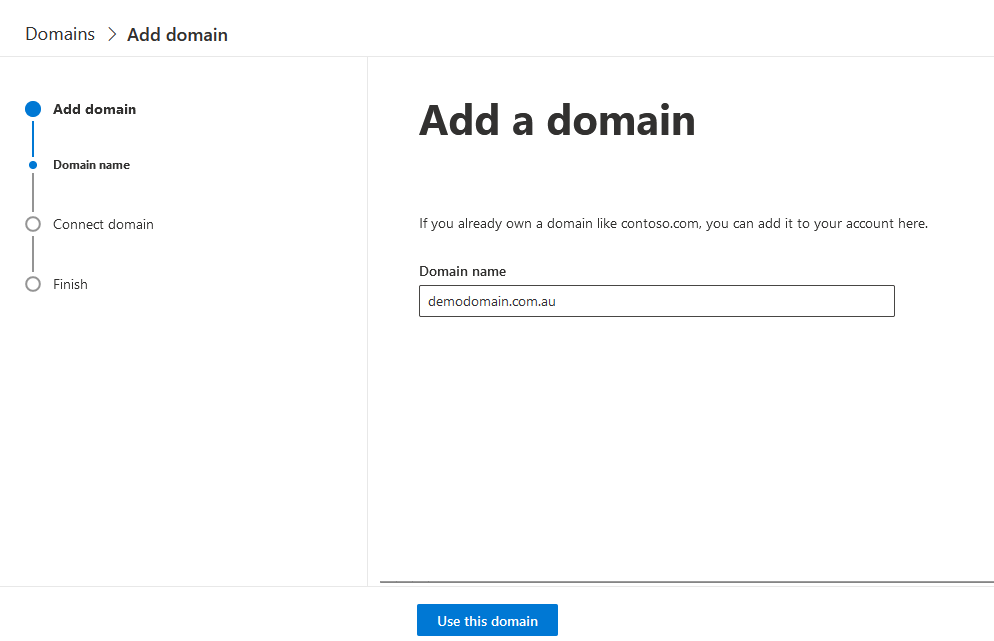
Click on Add domain at the top to add a new domain. In our example, we’ll use demodomain.com.au
Enter your domain name and click the “Use this domain” button
The next step is to verify that you own the domain which we’ll work through in the next section
Validate your domain in Microsoft365
Click the Add domain button and enter the name of your domain, then click Use this domain. For this example, we’ll use demodomain.com.au
You’ll then be prompted with 3 options to validate the domain to prove to Microsoft that you own and have management capabilities over that domain. In this example, we’ll be looking at the first option, which is “Add a TXT record to the domain’s DNS records”. Select this option and click continue.
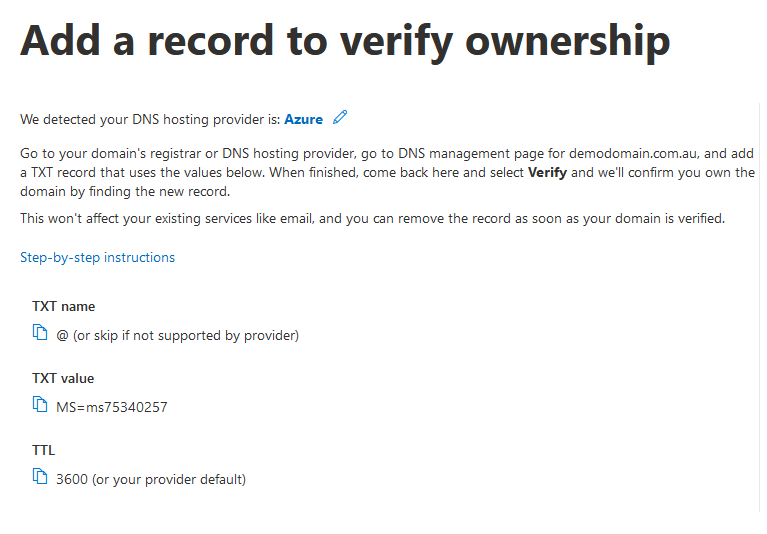
You will then be presented with the DNS information for the required TXT record. From here we need to head over to Cloudflare DNS to add the DNS records in.
Add your domain validation record to your Cloudflare DNS zone
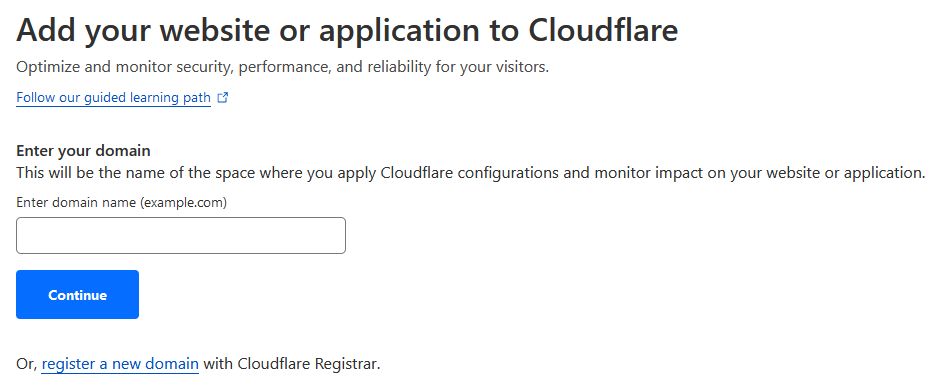
If you haven’t added your domain in Cloudflare, click on the blue Add a site button
From here you can add your domain name, then click Continue
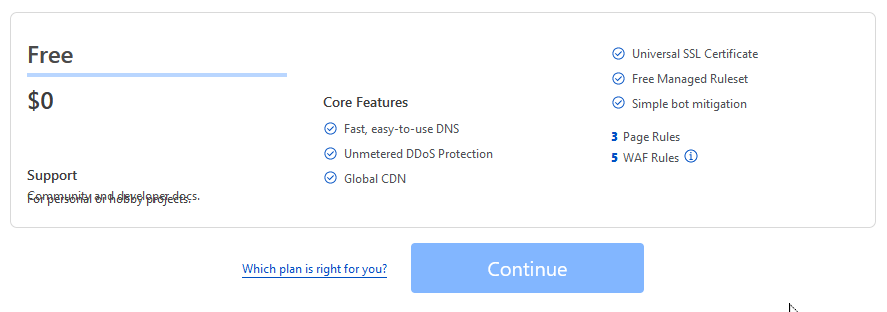
You can then select the Free package from the bottom of the packages page
Once your domain is added, Cloudflare will attempt to connect to your existing nameservers and import any existing DNS records that it finds.
If this is a new domain, then you shouldn’t have any. If it’s an existing domain, then you will need to review each of the added records to see if they’re still valid and needed.
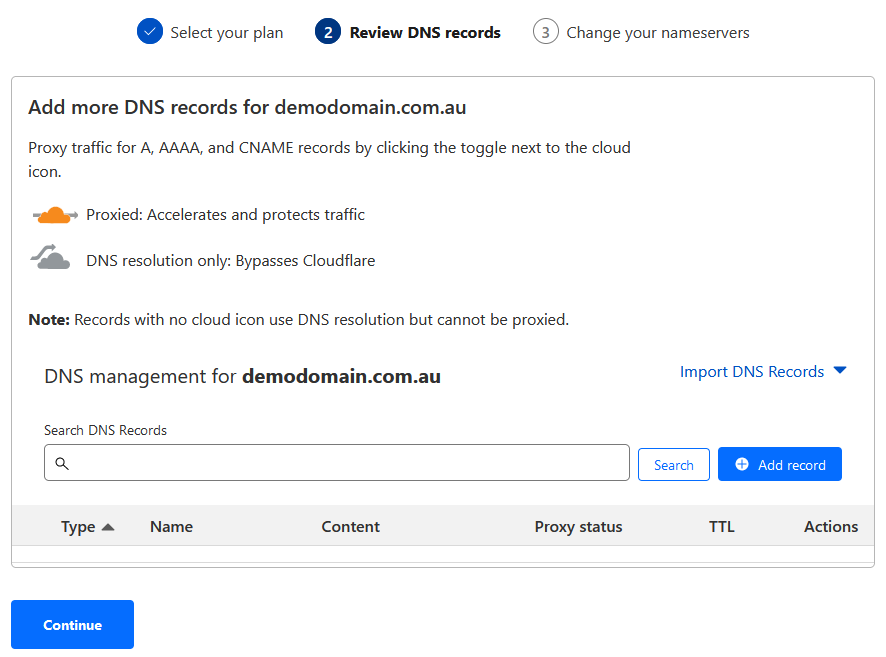
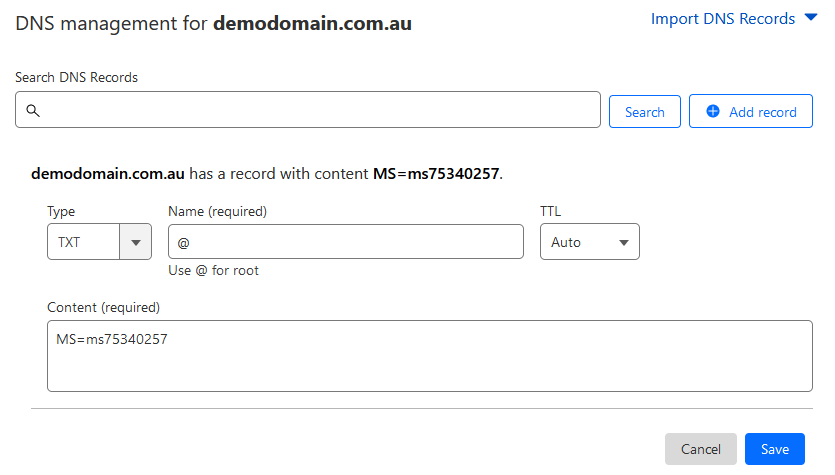
From here you can click on the + Add record button to add a record to your DNS.
As this is a top-level domain level record which is shown by the TXT Name of “@ (or skip if not supported by provider)“, you need to set the Name option as “@”. Change the Type option to TXT add the TXT Value provided in Microsoft365 into the Content field and click Save.
Now that we’ve added our validation TXT record, we can switch back to Microsoft365 to verify the domain. Adding this record proves to Microsoft365 that we have administrative access to the domain.
Once the domain is verified, we have the option of how we want to connect our domain. If Microsoft365 detects that our domain is managed by a DNS system that they can integrate with, like Cloudflare, it will give you the option to log in to your Cloudflare account to set up the records automatically.
Now doing things automatically isn’t very fun, and we don’t learn anything right!! So we’ll do it manually. Select “Add your own DNS records” and clicking Continue.
Point your email to Microsoft365
Once you have your domain verified, you can start adding users, and groups, and doing any other configuration that you need, but the email for your domain will not flow through to your Microsoft365 tenancy just yet. For that to happen, you need to change the following DNS records that Microsoft365 provides to you.
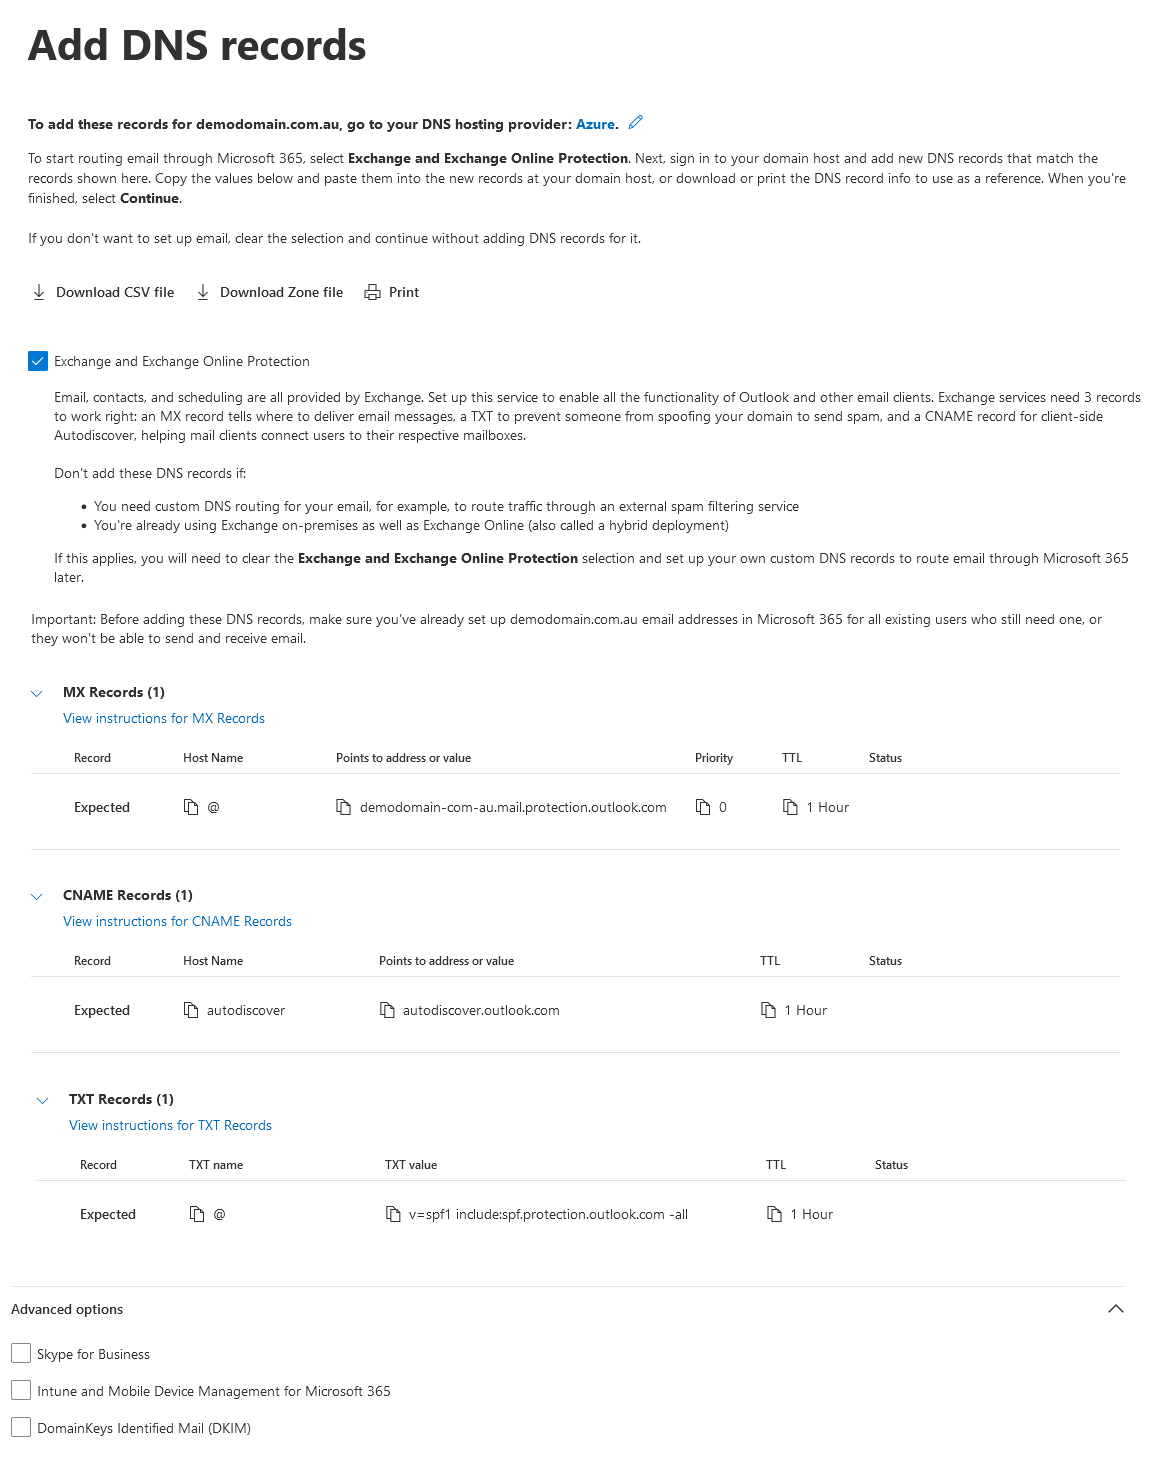
There are three primary records that you need to add to make your email work correctly.
An MX record that tells the internet where to send your email.
A CNAME record for autodiscover, which helps email clients like Outlook automatically configure themselves with your mailbox settings.
And your SPF TXT record, which is a security mechanism that tells email servers that are receiving email from your domain which servers you’ve authorised to send email on your behalf. If you’re keen to find out more about SPF, you can read this article Set up SPF to help prevent spoofing. Note that this does say “help”! SPF is not a silver bullet to stop spoofing but it helps.
Adding your MX, CNAME and TXT records to Cloudflare
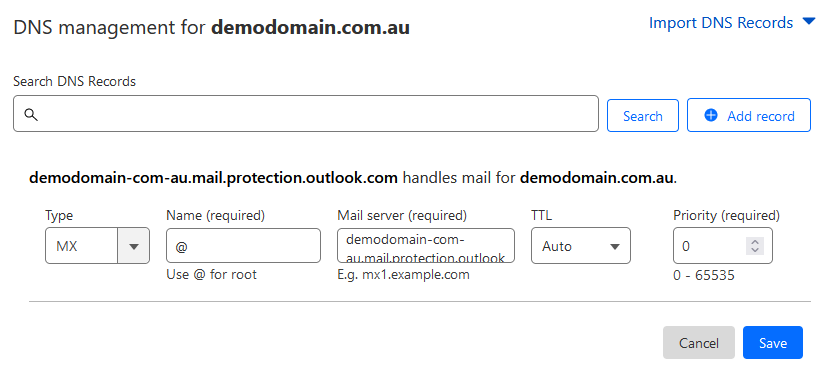
Back over in the Cloudflare zone editor, click the Add record button again to add a new record, then change the Record type to MX.
As this is a top-level record, the Name field is set to “@”. In the Mail server field add the email server name provided by Microsoft365 in the screenshow above. In our instance this will be “demodomain-com-au.mail.protection.outlook.com”, then set the Priority to 0, then click Save.
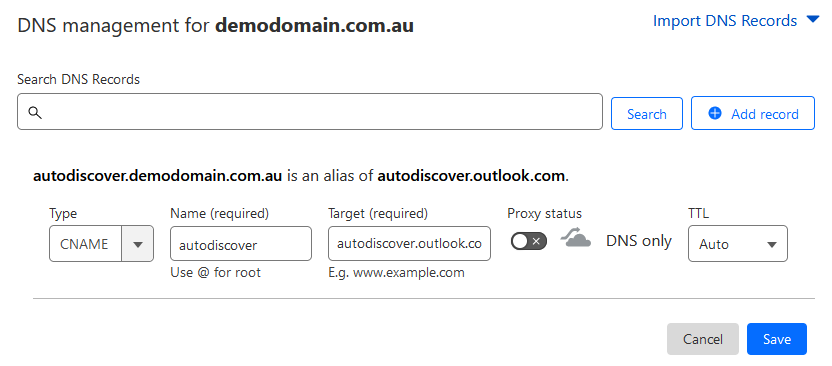
Adding our CNAME record follows much the same process. Click Add record again to add a new record, then change the Type to CNAME. The Name property is set to “autodiscover”, and the Target field is set to “autodiscover.outlook.com”.
It’s important not to make sure that the Proxy status is DNS Only. This record should NOT be Proxied, then click Save.
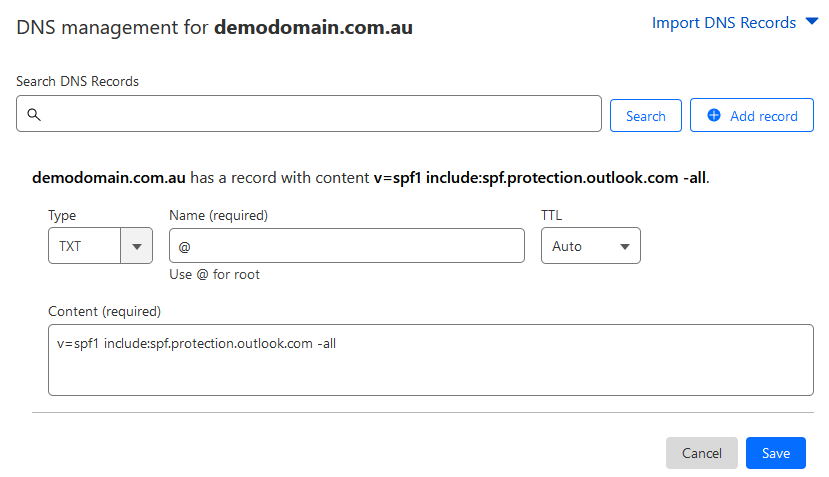
The final record is the TXT record. You can follow the same steps as above to add another TXT record for the SPF record.
Now that all our DNS entries are added, we can switch back to Microsoft365 and click Continue to verify the records.
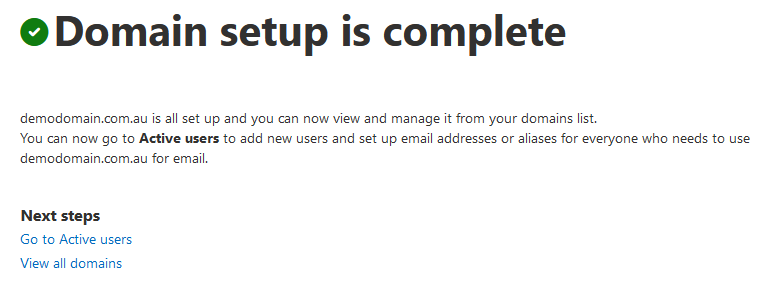
If you’ve entered the records correctly you should see a confirmation message.
Summary
You’ve now successfully added your domain to Microsoft365 and set up your DNS records with Cloudflare.
I’m keen to hear if you’re using Cloudflare for your domains, so please comment below.