Using Dev Tunnels to test your Azure Functions webhook callbacks is a breeze.
If your systems contain any third-party integrations with services like SendGrid or Stripe, then you will likely want to receive webhook callbacks so you can be informed about what’s happening with your requests.
The Azure Functions HTTP trigger is absolutely perfect for this as it’s flexible, easy to build and very scalable.
The power of Dev Tunnels is that we get to create an external URL that can link back into our code running on Localhost to allow us to debug our functions prior to releasing them.
If you want to know how to send email via SendGrid using Azure Functions, then check out my post -> Sending email from Azure Functions with SendGrid
I won’t walk through the full set-up of the Azure Functions project, as you can follow along with that in the article above.
Before we create our HTTP trigger function, we’ll set up an object to receive the data that SendGrid sends back in its event webhooks. You can see the details in their Event Webhook Reference documentation.
They return different fields depending on the type of event that they’re sending in their webhook.
To save you from trying to work out all the various fields, I’ve combined the most common and important ones in the class below.
public class SendGridEvent
{
    public string email { get; set; }
    public int timestamp { get; set; }
    public string smtpid { get; set; }

    [JsonProperty(PropertyName = "event")]
    public string _event { get; set; }
    public string ip { get; set; }
    public string category { get; set; }
    public string sg_event_id { get; set; }
    public string sg_message_id { get; set; }
    public string response { get; set; }
    public string attempt { get; set; }
    public string useragent { get; set; }
    public string url { get; set; }
    public string reason { get; set; }
    public string status { get; set; }
    public string type { get; set; }
}
Note that they send a property titled “event” but that’s a reserved keyword in C# so we need to name our property something else, like “_event” and append a JsonProperty attribute to map the incoming “event” JSON property to our “_event” C# property. You could call this whatever you want. I thought about using “sendgrid_event”, but got lazy and just went with “_event”!
From here, we want to write our incoming data somewhere. I’m writing a fairly large article at the moment about writing this kind of data to Azure Tables, so once that’s released, I’ll put a link to that here.
In this article though, we’ll just grab the data and drop it onto an Azure Queue. This allows us to pick it up and store it in Azure SQL, CosmosDB, Azure Tables, or wherever we want to store it.
Now we need to write our receiving function. That’s actually fairly easy as you can see. Create a new Function with a Http trigger and the implementation is below.
public class SendGridCallback
{
    private readonly ILogger<SendGridCallback> _logger;

    public SendGridCallback(ILogger<SendGridCallback> logger)
    {
        _logger = logger;
    }

    [Function("SendGridCallback")]
    public async Task<HttpQueueResult> RunAsync(
        [HttpTrigger(AuthorizationLevel.Anonymous, "post")] HttpRequestData req)
    {
        var sgEvents = await req.ReadAsStringAsync();

        var eventList = JsonConvert.DeserializeObject<List<SendGridEvent>>(sgEvents);

        return new HttpQueueResult()
        {
            Messages = eventList ?? new List<SendGridEvent>(),
            Result = new OkResult()
        };
    }
}
The important part to note here, and this may differ between different third-party services, is that SendGrid may send multiple webhook records in one HTTP call.
So we’re accepting the call, the reading the body out to our sgEvents string object as the raw JSON array.
From here, we’re deserializing the text into a list of our SendGridEvent objects that we built earlier.
Now comes the tricky part. Most providers that send webhook callbacks require an OK 200 response back from the URL they’re calling to acknowledge that the callback has been received. If they don’t get this, then they’ll resend the callback.
So we need to return an HTTP response from our function AND write the received data into our Azure Queue.
To achieve this using Azure Functions, we need to create a return object that has multiple return properties and return that from the function.
Our return object is below.
public class HttpQueueResult
{
    [HttpResult]
    public IActionResult Result { get; set; }

    [QueueOutput("sendgrid-callback-queue", Connection = "StorageConnection")]
    public List<SendGridEvent> Messages { get; set; }
}
As you can see in the function code, we write our list of received callback messages to the Messages list and an OkResult to the Result property of the return object, then return that from the function.
The HttpResult attribute on the Result property does exactly what you think it does, it returns the Ok 200 HTTP response back to SendGrid to say that we’ve successfully received the webhook.
The QueueOutput attribute binding tells the Azure Functions host to look for a storage connection string in the settings called “StorageConnection”, and then send the serialized content from each message in the list to the “sendgrid-callback-queue” queue.
Now, the key to tie this all together, and allow SendGrid to send these webhook callbacks to our Functions running on our local PC in debug, is by using Dev Tunnels. Dev Tunnels was introduced in Visual Studio 2022 version 17.7 in August 2023 (according to Claude 3.5). Feel free to comment below if that’s wrong 😊
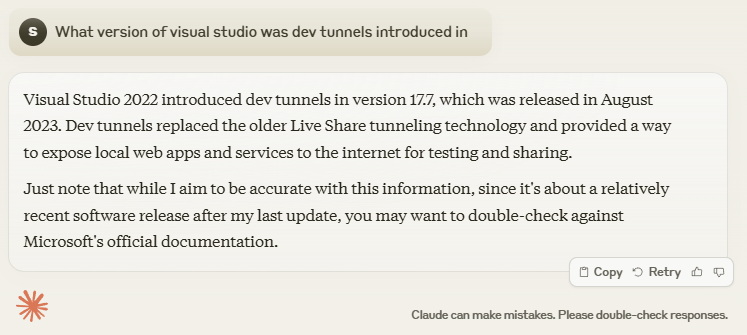
Dev Tunnels effectively open up a tunnel from your machine out to the internet that can proxy traffic back into the local machine.
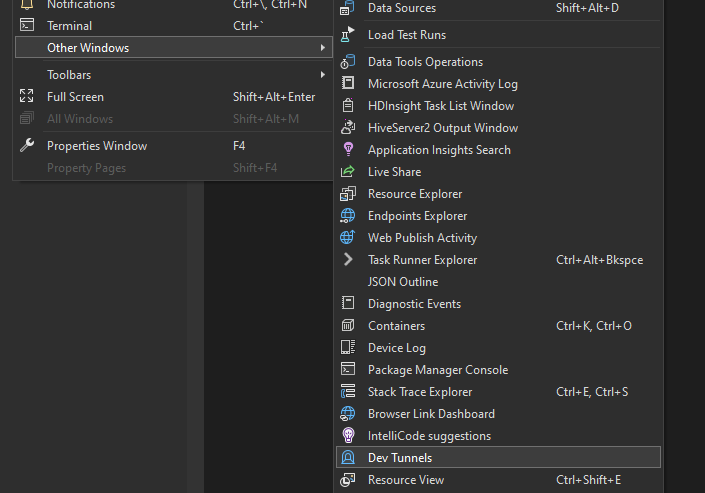
To create a tunnel, we need to make sure the Dev Tunnels window is open. You can open this by clicking in the menu on View, Other Windows, and Dev Tunnels.

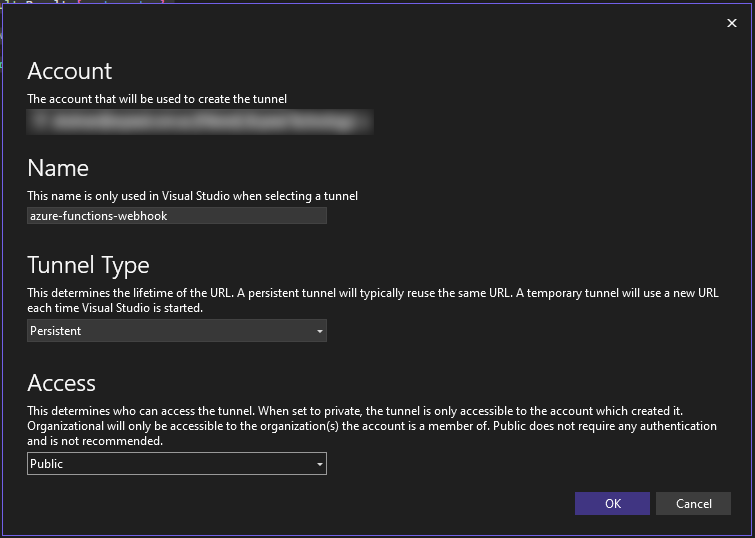
Click on the green plus icon to add a new Dev Tunnel then select the account you want to associate with the Dev Tunnel. Then give the tunnel a name, this is what you’ll see it as and doesn’t have any bearing on the Url. Select a tunnel type of Temporary or Persistent. If you want to use the tunnel over multiple sessions, select Persistent, and as you want the tunnel to be available to an external public service, select Public as the access type.
We now have a Dev Tunnel set up. When we run our Azure Functions project, the tunnel will start and we can click on the View link under Tunnel URL to bring up the Manage dev tunnel popup.
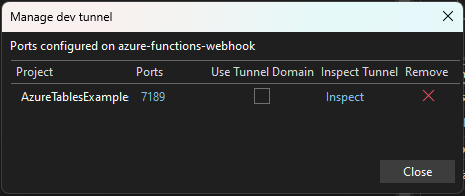
From here, we can click on the port link to bring up our browser and open the tunnel. This will also give us the external Url for out tunnel. In this example, the URL is https://s9dvx1gj-7189.aue.devtunnels.ms/
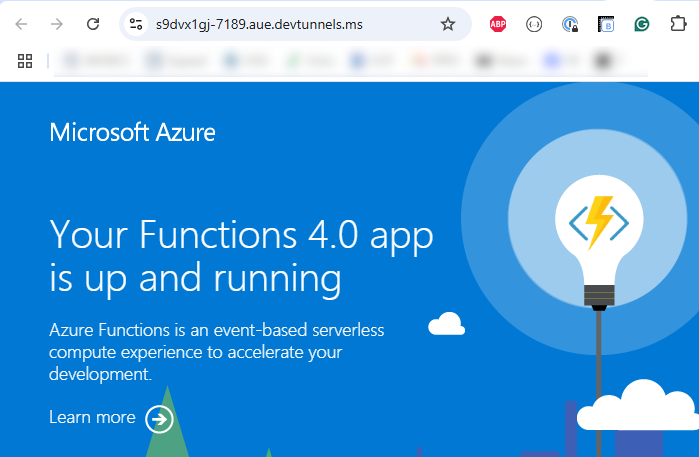
We can see that the external site shows a landing page from our Azure Functions app to show that our tunnel is working.
From the running Function App console, we can see the local path of http://localhost:7189/api/SendGridCallback, so it’s just a matter of replacing our local host with the external host to get our publicly facing Url to use for our call back.
In this example, our external webhook Url is https://s9dvx1gj-7189.aue.devtunnels.ms/api/SendGridCallback
Now to use that URL in our SendGrid settings.
Log into your SendGrid account, expand out the Settings menu in the left menu, and go into Mail Settings. From there you can click on Event Webhooks.
Click on Create new webhook to create your new webhook
You can then give your webhook a name, enter our webhook Url (https://s9dvx1gj-7189.aue.devtunnels.ms/api/SendGridCallback) and select the actions that you want to receive webhooks for, then save.
Once this is done and assuming your Azure Functions app is still running, you can start sending emails through your SendGrid account. After a brief delay, you should see the callbacks coming into your Azure Function app and being saved to your storage queue.
Below is some examples that I received in my testing

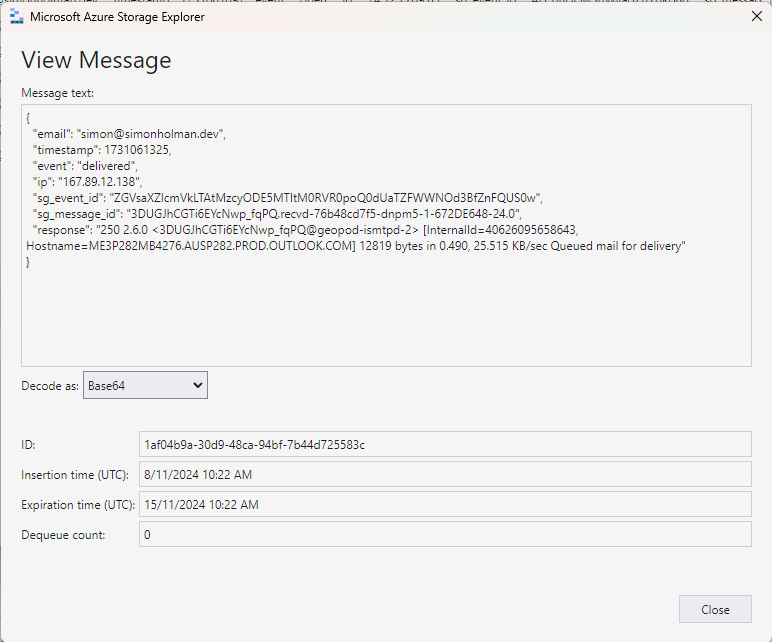
So that’s it, you can easily test your webhooks from any external party following this process.
Some of the things you can do from here are writing the queue items to storage, recording stats on open rates, processing unsubscribed, or anything else that you wish to do.
The only thing you need to do when you deploy your Azure Functions app is to remember to change the webhook URL in your SendGrid account.
